Creating a beaded bracelet is a delightful way to express creativity and personal style. Whether you’re a beginner or looking to refine your skills, this guide will walk you through the process of selecting materials, stringing beads, and finishing your handmade piece. Let’s embark on this colorful journey!
Materials You’ll Need
- Beads: Choose from glass, gemstone, wood, or plastic beads in various shapes, sizes, and colors.
- Stringing Material: Options include elastic cord (for stretchy bracelets), nylon thread, or jewelry wire with clasps.
- Tools: Scissors, needle-nose pliers (for wire), and a beading needle (if using thread).
- Findings: Clasps, jump rings, or crimp beads (depending on your closure method).
- Optional: Spacer beads, charms, or a ruler for measuring.
Step-by-Step Guide
- Design Your Pattern
Lay out your beads on a flat surface to visualize your design. Mix colors, textures, and shapes for a unique look. For symmetry, repeat a pattern (e.g., “bead-spacer-bead”). - Prepare Your Stringing Material
- For Elastic Cord: Cut a length 1.5–2 inches longer than your wrist size. Thread one end through a beading needle (or use a safety pin as a makeshift needle).
- For Nylon Thread: Tie a knot at one end and wax the thread for smoother beading.
- For Wire: Use crimping pliers to attach a clasp to one end of the wire.
- String the Beads
- Start threading beads onto your material, following your pattern. For elastic cord, avoid overstretching to prevent breakage.
- Add spacers or charms at intervals to break up colors or highlight focal beads.
- Secure the Ends
- Elastic Cord: Tie a surgeon’s knot (double knot) and add a dot of glue (e.g., clear nail polish) for reinforcement. Trim excess cord.
- Nylon Thread: Tie a secure knot and hide the tail by threading it back through a few beads.
- Wire: Use crimping pliers to attach a jump ring or clasp to the other end.
- Add Finishing Touches
- Trim any excess string or wire neatly.
- Test the bracelet’s fit—it should slide on comfortably without being too loose or tight.
Tips for Success
- Measure Twice: Always measure your wrist or a similar bracelet for accurate sizing.
- Practice Knots: Learn the surgeon’s knot or square knot for strong elastic closures.
- Mix Textures: Combine matte and shiny beads or add metal accents for visual interest.
- Stay Organized: Use a bead tray or plate to keep your pattern intact while working.
Creative Variations
- Memory Wire Bracelet: Use memory wire (a pre-shaped wire) for a bouncy, flexible design.
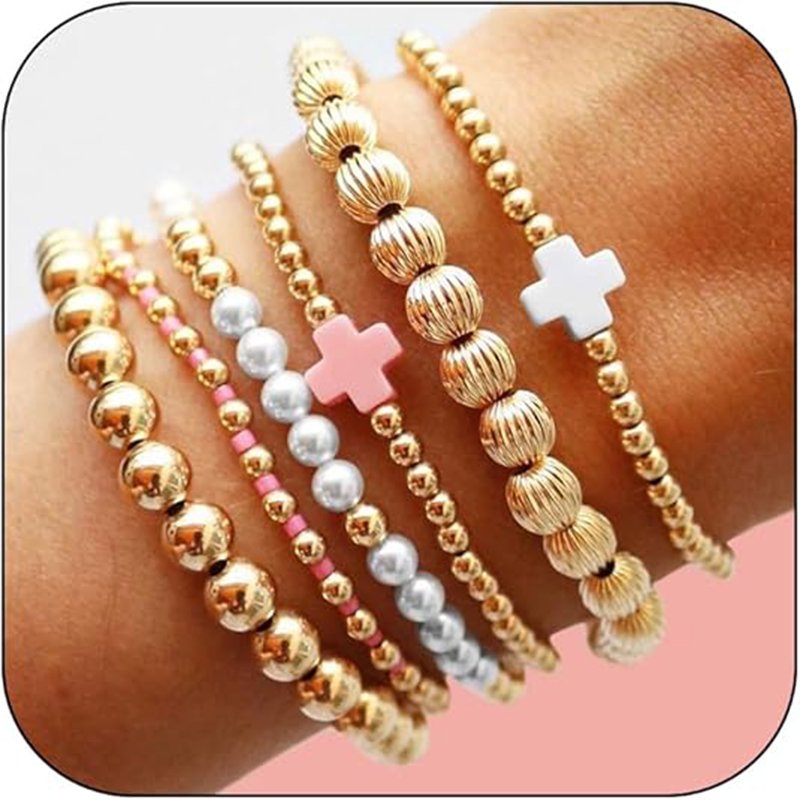
- Layered Bracelets: Create multiple thin bracelets to wear together for a stacked look.
- Themed Designs: Craft bracelets inspired by nature, seasons, or cultural motifs.
Conclusion
Making a beaded bracelet is a rewarding hobby that allows you to craft wearable art. Experiment with materials, colors, and techniques to develop your signature style. Don’t be afraid to make mistakes—each bracelet is a chance to learn and improve. Happy beading!